
Bottle
Can
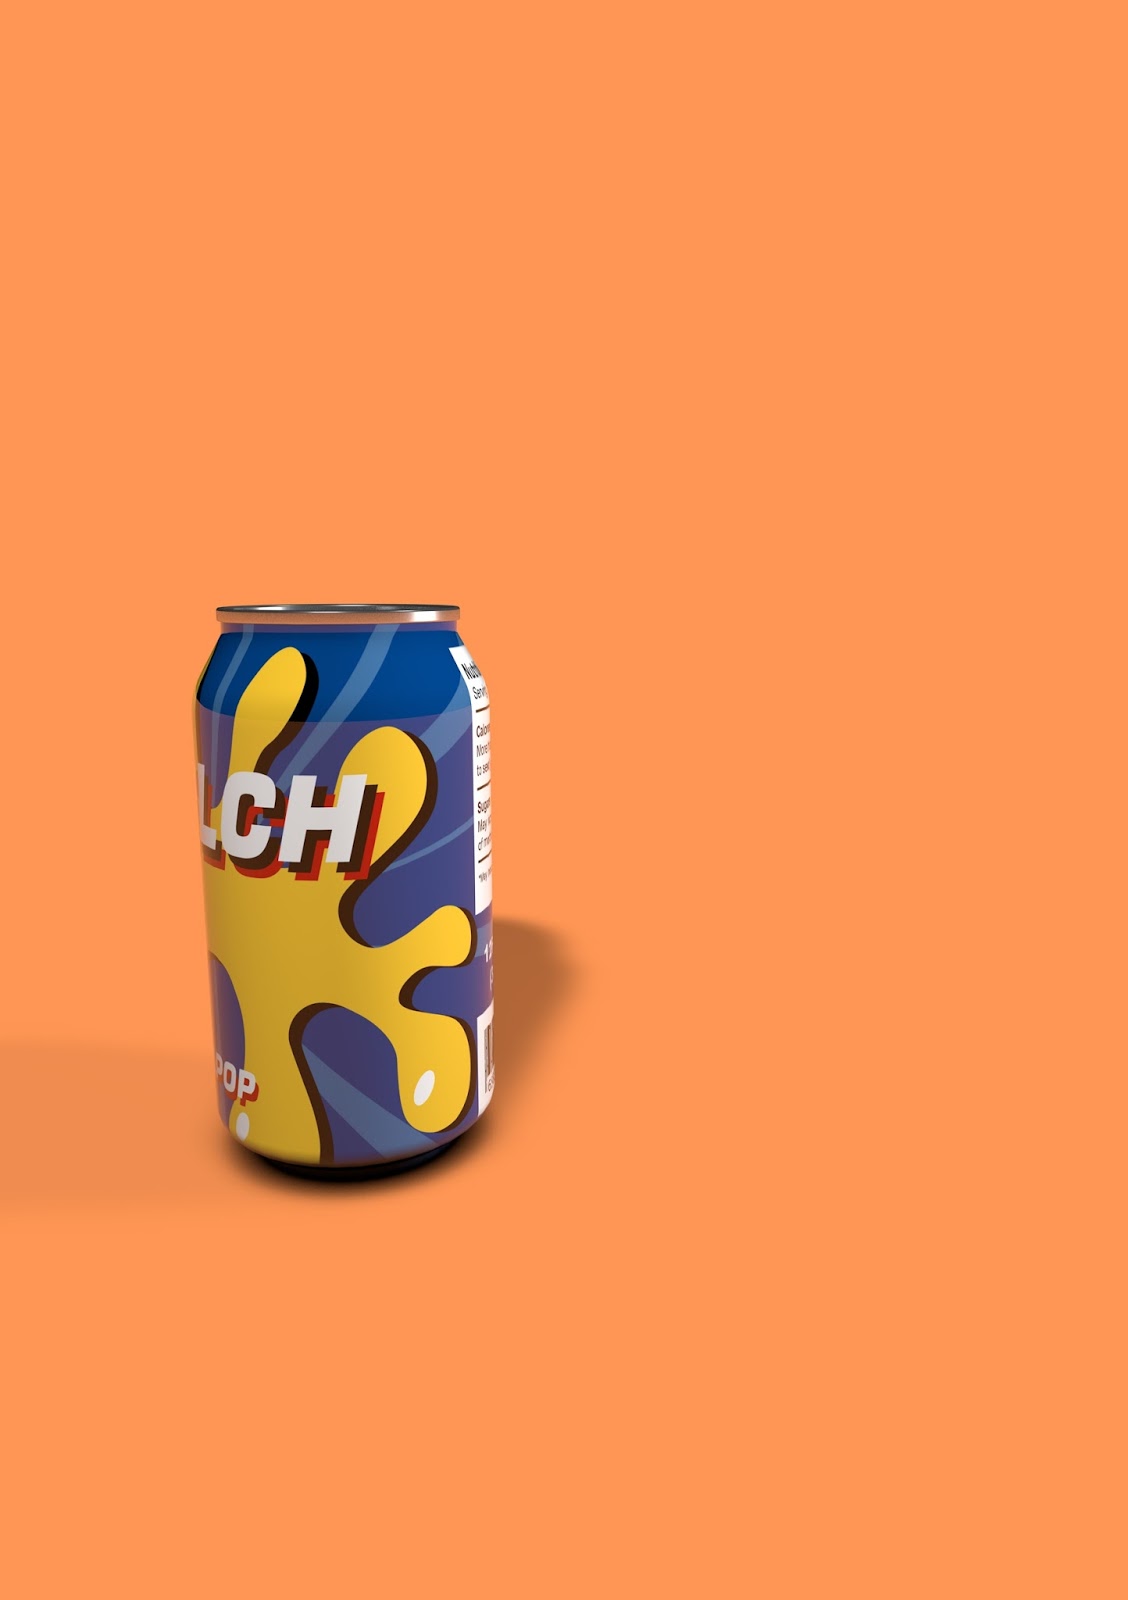
In this lesson we will learn how to use Cinema 4d as a Design Tool for prototyping. This outcome from this session will be a series of a design prototypes of using cinema4d. This is at looking at ways to express ideas, without wasting time with printing something when you can show a prototype for the idea.


We started with the art work that was provided for us by Jay, my teacher. It was an Illustrator ai file, kept that way so we are able to to modify in the way it is needed, so it can be imported in Cinema 4-D. The most important things were that I needed to open up rulers from the view option, and move it to the centre and bottom of the of the can and bottle shape. Then reduce the art board size to fit the art shape. Lastly save the file as Illustrator 8 ai because Illustrator 8 works better on Cinema 4-D.


We continue to import the file and renaming each shape layer so it is organised in an orderly fashion which makes it easier to follow. We create Lathe Nurbs in each shape; rotating around the shape to create the form. We then move on to adding the background and adding a composition tag floor, and the material for the can and bottle. Now I was star struck by how realistic the bottle can come to life when you render up the work. I kept thinking to myself, how do we make it look realistic? On that day we got taught something that may have sparked my interest in Cinema 4-D more. It was the reflectance legacy we can add to the materials that we will soon drag up to the lathe.
I am not used to this program, so it was fun getting to know something new. I was happy with my outcomes. I love how realistic an art work you produce in Illustrator can be made into this. I am ery curious on other things Cinema 4-D is capable of.
No comments:
Post a Comment